Markers
Markers are your own spots on the map — the servo that’s open late, the gate you had to turn around at, the lookout worth stopping for. They live on your phone, work with no signal, and stay put until you remove them.
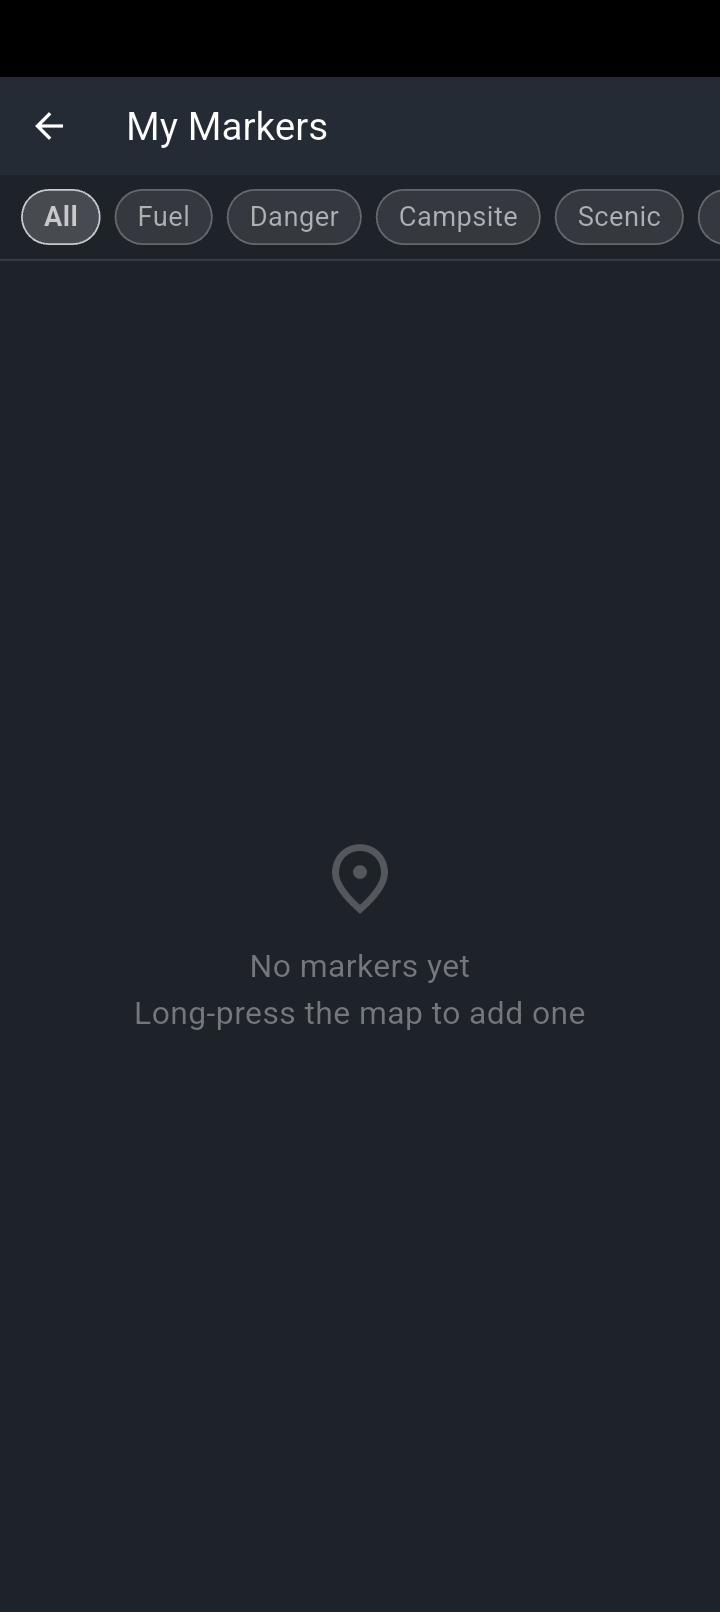
The category chips run across the top. All is selected here, so every marker would be listed.
With nothing saved yet you get the empty state, which tells you how to make the first one.
Saving a spot
-
Press and hold on the map
A sheet slides up naming the place — or showing its coordinates if it can’t work out a name. Choose Add Marker.
-
Pick a category
Seven coloured chips. Custom is selected until you choose otherwise.
-
Give it a name, or don’t
The field is Label (optional). Leave it empty and the app names it after the category and a number — Campsite #3, and so on.
-
Tap Save
A coloured pin appears on the map straight away and you’ll see Marker saved along the bottom.
There are two other ways in. Searching for a place gives you Add Marker in the result panel, and tapping a fuel or camping badge on the POI layer gives you Save as marker, which fills the category in for you.
Add Marker only appears if the route planner isn’t already open. With a route on screen, close the planner first and the option comes back.
The seven categories
- Fuel — amber
- Danger — red
- Campsite — green
- Scenic — blue
- Food — orange
- Mechanical — grey
- Custom — lilac
On the map each one is a filled circle in its colour with a white ring around it. The category is the only thing the pin tells you.
The pin shows the colour and nothing more. To read the name you either tap the pin or open My Markers. If you’re marking several of the same kind close together, give them real labels — the auto-generated numbering won’t help you tell them apart from the map.
Tapping a pin
Tap any marker on the map and a panel opens with its category, its name, and three things you can do:
- Navigate here — sets it as your destination and opens the route planner.
- Edit — change the category or the label, then Save.
- Delete — asks Delete marker and names the one you’re about to remove, so you can back out.
The My Markers screen
Open the menu and choose My Markers. Everything you’ve saved is listed newest first, with the category and a date — Today, Yesterday, 3d ago, then the plain date once it’s more than a week old.
The strip along the top filters by category. All is where it starts; tapping a category narrows the list, and tapping the same one again clears it. With nothing saved you’ll see No markers yet and a reminder to long-press the map; with a filter on and nothing in it, No markers in this category.
Swipe a row from right to left in My Markers and it’s gone — no dialog, no undo, no way back. The Delete option in the sheet on this screen behaves the same way. The only place deleting asks you first is when you tap the pin on the map itself. This is the one destructive action in NavForge that doesn’t stop and check, so treat the list as something to scroll carefully.
Where they’re kept
Markers are stored on the phone, in the app’s own storage. That means:
- They work with no signal and no map region installed.
- They survive restarting the app and restarting the phone.
- They’re redrawn automatically when the map switches between day and night.
- They are not backed up anywhere, and uninstalling the app or clearing its data removes them for good.
Gates, washouts, closed servos and good coffee are all things you’ll want next time and won’t remember. A long-press and two taps is quicker than trying to describe the spot later.